Blog
Practical stuff about AI systems, context management, and making AI actually useful for marketing. No fluff.

Google Cloud Next 2026: 8 Sessions, One Pattern (Memory Is the New Model)
I went to Google Cloud Next 2026 expecting to come back with notes on new models. I came back with notes on memory. Here's everything I learned across all 8 sessions I sat through.
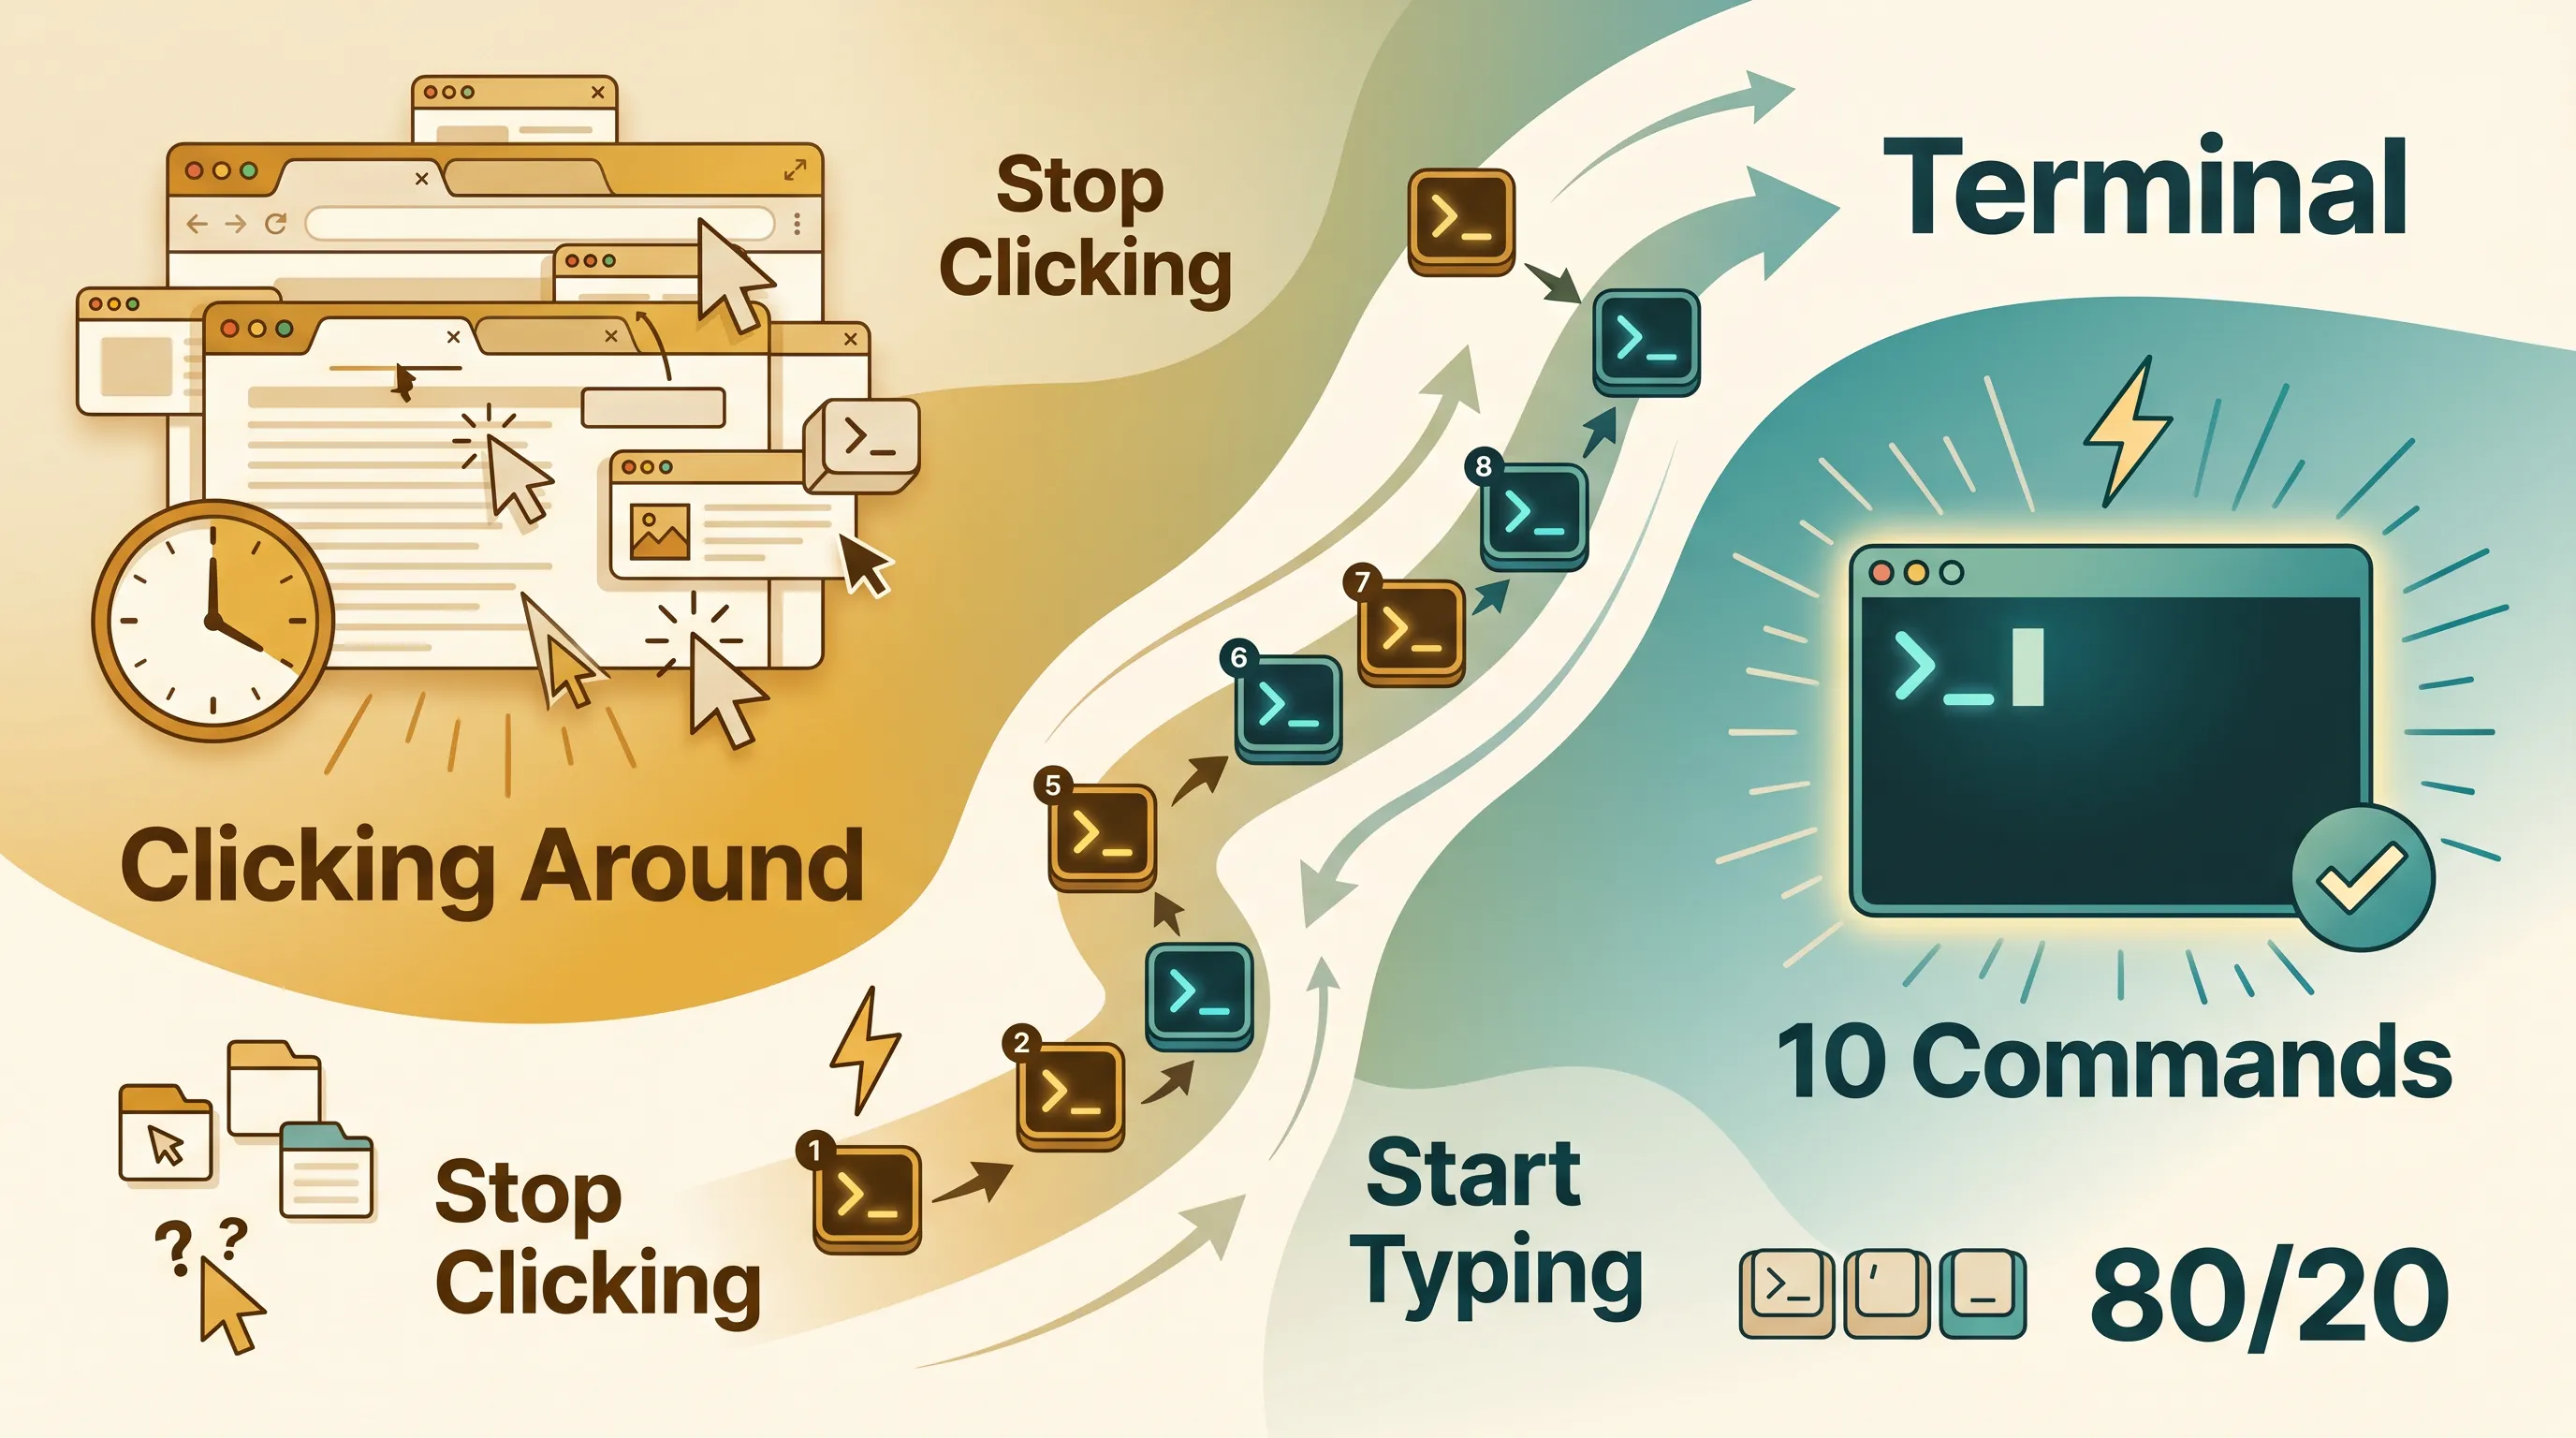
10 Claude Code Commands Every Marketer Should Know
Stop clicking around. Start typing. Here are the 10 commands, shortcuts, and flags that cover 80% of what you need to be fast in Claude Code as a marketer.

How to Get Better AI Output: Build a Context System That Actually Works
The more your AI knows, the better it performs. Here's how to build a context system that turns generic AI output into specific, useful results.

How to Keep Up With AI Without Burning Out: Focus on the Base Layer
You don't need to learn every new tool. You need to build the base layer. Once you have that, keeping up is just reading what's new and applying what you already know.

Your Folder Structure Is Wasting Claude's Brain: How to Fix It
Messy project folders waste 10-15% of your AI's context window on navigation instead of actual work. Here's why clean structure matters more than better prompts.

Will AI Take Your Job? The Quadrant That Shows Who's Actually at Risk
AI will only take your job if you're in the bottom left corner. Here's the quadrant, what each position means, and how to move.

Skills vs Agents in Claude Code: The Difference Explained Simply
Skills run in your conversation. Agents get their own. Here's the jar metaphor that makes the difference click — with real Google Ads examples.

What I Learned Building 30+ AI Agents for Marketing Teams in One Year
More about mindset than technology. FOMO, scaling chaos, and why you're building a hotel — not pitching a tent.

85% of My AI Projects Are in the Trash — And That's Exactly Why the Rest Work
A year of failed AI projects taught me more than any tutorial ever could. Here's what the trash pile taught me about specs, patterns, and why failure is the best teacher in AI.

How to Organize Your Notes for AI: Everything Is a Markdown File Now
Your notes are AI instructions. Your documents are context. Here's how to build a simple note system that makes every AI conversation 10x better — using PARA and markdown files.